
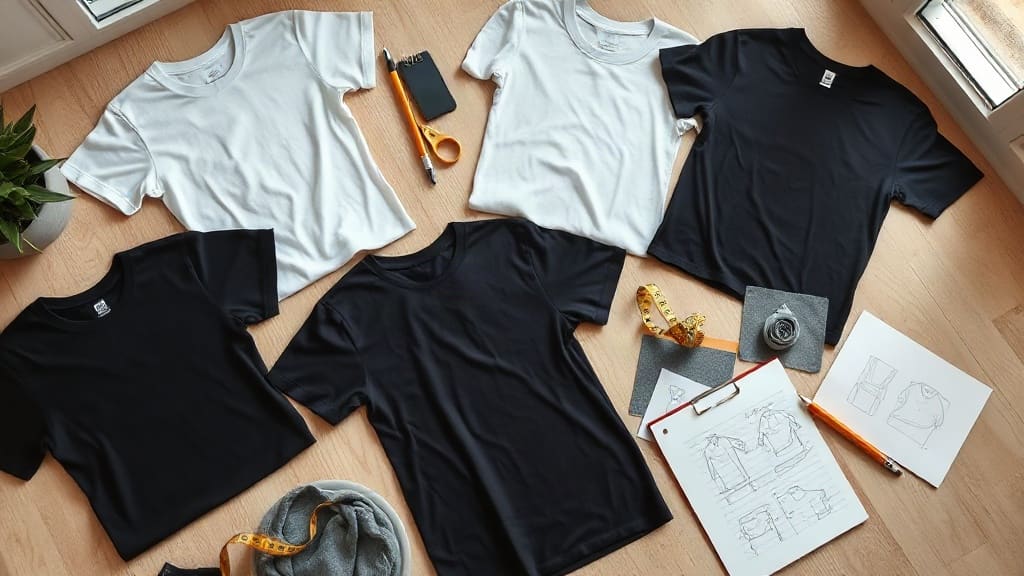
You have a design in mind and a group of people who need to wear it. Whether it's for a team event, a family reunion, or a small business giveaway, the difference between a shirt that gets worn and one that gets stuffed in a drawer often comes down to a few practical decisions. This guide walks you through those decisions so your custom shirts end up as favorites, not afterthoughts.
We'll cover fabric, printing, placement, and the small details that separate a professional-looking tee from a homemade one. No fluff, just the stuff that matters when you're placing an order.
Start with the Fabric: The Foundation of Every Great Custom Shirt
The fabric you choose determines how the shirt feels, how it drapes, and how long the print lasts. You can have the best design in the world, but if the blank is uncomfortable, nobody will wear it.
Cotton vs. Blends: What Works for Your Project
100% cotton is the classic choice for custom shirts. It's soft, breathable, and takes screen printing and DTG (direct-to-garment) printing beautifully. If you're making shirts for a casual event or a retail line, cotton is a safe bet. The downside? It can shrink slightly and wrinkles more than blends.
Cotton-poly blends, like a 50/50 or 60/40 mix, offer a smoother surface and better durability. They resist shrinking and hold their shape wash after wash. Blends are popular for athletic teams and corporate wear because they look crisp and handle repeated laundering. If your group will wear these shirts weekly, a blend might be the smarter choice.
Tri-blends (cotton, polyester, rayon) have a vintage, ultra-soft feel that's trendy right now. They're a bit more expensive, but if you want a premium look and feel, they're worth considering. Just keep in mind that tri-blends can be trickier to print on, so work with a printer who knows their way around them.
Weight Matters: Lightweight vs. Heavyweight
Fabric weight is measured in ounces per square yard (oz/yd²). Lightweight tees (around 4.0 to 4.5 oz) are airy and great for summer or layering. Midweight (5.0 to 5.5 oz) is the sweet spot for most custom shirts because it feels substantial without being heavy. Heavyweight (6.0 oz and up) is durable and structured, ideal for workwear or streetwear styles.
Think about how the shirt will be used. A giveaway at a 5K run? Lightweight is fine. A uniform for a construction crew? Go heavyweight.
Choosing the Right Printing Method for Your Design
Not all printing techniques are created equal. The method you pick affects the look, feel, and longevity of your design. Here's a breakdown of the most common options.
Screen Printing: Best for Bold, Simple Designs in Bulk
Screen printing uses a stencil and ink pushed through a mesh screen. It's the go-to for large orders because the cost per shirt drops as quantity goes up. It works best with designs that have solid colors and no gradients. If you're ordering 50 shirts with a two-color logo, screen printing is likely your most economical choice.
The ink sits on top of the fabric, giving a slightly raised feel. Over time, it may crack if the shirt is abused, but with proper care, it lasts for years. Plastisol inks are the standard, but water-based inks are available for a softer, more vintage look.
DTG (Direct-to-Garment): Ideal for Detailed, Full-Color Art
DTG printing works like an inkjet printer for fabric. It sprays ink directly onto the shirt, allowing for intricate details, gradients, and photographic images without color limitations. There are no setup fees, so it's perfect for small orders or one-off designs. The print feels softer than screen printing and blends into the fabric.
However, DTG is typically limited to cotton and cotton-rich blends. It may fade faster than screen printing after many washes. For a small batch of custom shirts with a complex design, DTG is often the best route.
Heat Transfer and Vinyl: Quick and Accessible
Heat transfer involves printing your design onto a special paper and pressing it onto the shirt with a heat press. Vinyl cutting is similar but uses colored sheets of vinyl. These methods are great for names, numbers, and simple one-color graphics. They're accessible for DIYers, but for larger runs, they can be time-consuming and less durable than screen printing.
If you need a few personalized shirts with different names, heat transfer vinyl (HTV) is a practical solution. Just be aware that the vinyl can peel if not applied correctly.
Design Principles for Custom Shirts That Get Worn
Great design isn't just about aesthetics; it's about wearability. A shirt with a giant logo across the chest might be fine for a company picnic, but it's less likely to become a wardrobe staple. Here are some guidelines to keep in mind.
Placement: Where You Put the Design Matters
- Left chest: Classic spot for logos. Small and subtle, it looks professional on polos and tees.
- Full front: Best for bold statements or event shirts. Keep the design centered and sized appropriately (usually 10 to 12 inches wide).
- Back: Great for large graphics, team names, or sponsor lists. Often paired with a small left chest logo.
- Sleeve: A trendy spot for small icons or text. Works well for adding a touch of personality.
Consider the shirt's purpose. For a casual everyday tee, a small left chest print or a pocket-area design is versatile. For a concert or festival, a full-front or back print makes a statement.
Color Contrast: Make Your Design Pop
The color of your design should contrast with the shirt color. Dark ink on a light shirt is the most legible. Light ink on a dark shirt can work, but thin lines may get lost. If you're using multiple colors, make sure they don't clash with the fabric. A quick trick: print a test on a similar-colored paper to see how it reads.
Also, think about the ink's opacity. Some inks are more translucent, which can affect the final look, especially on dark fabrics. Your printer can advise on underbase or double printing for better coverage.
Simplicity Wins
Overly complex designs with too many elements can look cluttered and cheap. A clean, simple design often appears more professional and is more likely to be worn regularly. Stick to one or two focal points and avoid tiny text that becomes unreadable. If you have a lot of information, consider using the back of the shirt for details and keeping the front minimal.
Ordering and Quality Control: What to Check Before You Buy
Before you commit to a large order, do a test run. Order one or two samples to check the fabric, print quality, and sizing. Wash the sample a few times to see how it holds up. This small investment can save you from a big mistake.
Check the sizing chart carefully. Custom shirts often run differently from retail brands. If you're ordering for a group, get everyone's measurements or provide a detailed size chart. When in doubt, order a size up; people rarely complain about a shirt being too roomy, but they will complain if it's too tight.
Communication with your printer is key. Provide high-resolution files (300 DPI or vector) and specify the exact Pantone colors if color matching is critical. Ask about turnaround times and shipping, especially if you have a deadline.
Frequently Asked Questions About Custom Shirts
How much does it cost to make custom shirts?
Pricing depends on the quantity, fabric, and printing method. Screen printing has a higher setup cost but a lower per-shirt cost for large orders. DTG has no setup fee but a higher per-shirt cost. As a rough guide, simple one-color screen-printed tees can start around $8 to $12 per shirt for quantities of 50 or more, while DTG might be $15 to $25 per shirt for small runs. Always request a quote for your specific project.
What's the best way to wash custom shirts to make them last?
Turn the shirt inside out and wash in cold water on a gentle cycle. Avoid using bleach or fabric softener, which can break down the print. Tumble dry on low or hang dry. If you iron, do it inside out and avoid ironing directly over the print. Following these steps can significantly extend the life of your custom shirts.
Can I put my own design on a shirt if I'm not a graphic designer?
Absolutely. Many online tools and local print shops offer design assistance. You can also use free software like Canva or GIMP to create a simple design. The key is to provide a high-quality file. If you're unsure, ask your printer for help; they often have templates and can guide you through the process.
How long does it take to get custom shirts printed?
Turnaround time varies by printer and method. Screen printing typically takes 5 to 10 business days after design approval, while DTG can be faster, sometimes 2 to 5 business days. Rush options are often available for an extra fee. Always confirm the timeline before placing your order, especially for event deadlines.
What if I need different names or numbers on each shirt?
Personalization is common. For names and numbers, heat transfer vinyl or DTG are good options. Screen printing can also handle personalization, but it may require separate screens for each unique element, which increases cost. Discuss your needs with your printer to find the most cost-effective solution.
With these tips, you're ready to create custom shirts that people will actually enjoy wearing. Focus on quality blanks, choose the right printing method, and keep the design clean and wearable. Your group will thank you.