
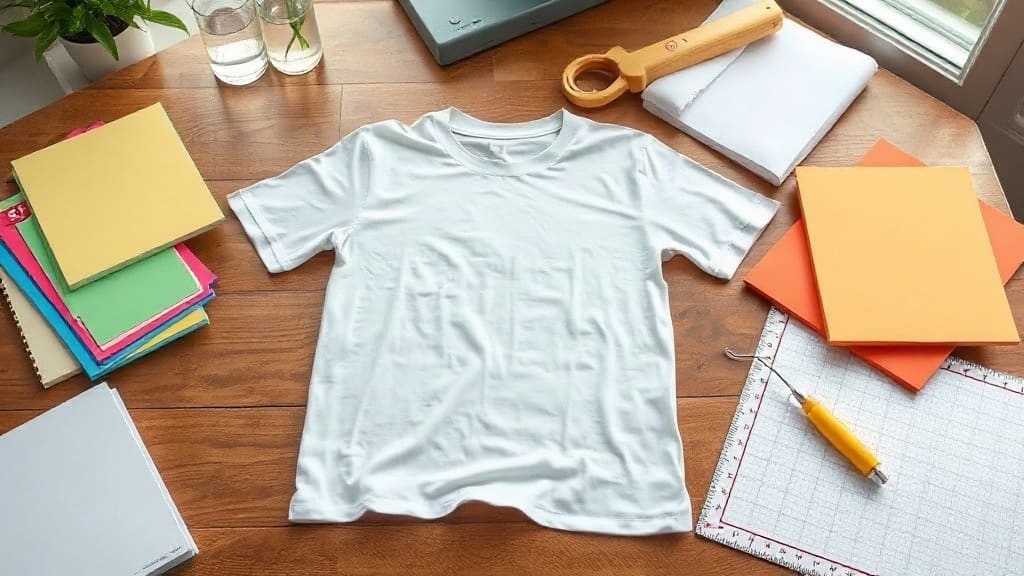
Creating custom shirts is one of the most rewarding DIY projects you can take on. Whether you want to promote your business, celebrate a family reunion, or just wear something that's uniquely yours, the process is more accessible than ever. With the right knowledge and materials, you can produce professional-looking shirts from your own home or workshop. This guide walks you through everything you need to know, from picking the perfect blank to mastering the print.
Why Custom Shirts Are Worth the Effort
Store-bought clothing often feels impersonal. Custom shirts let you express your personality, support a cause, or build a brand identity. They also make thoughtful gifts and effective marketing tools. When you wear a shirt you designed, you're not just wearing fabric; you're wearing a story.
Choosing the Right Blank Shirt
The foundation of any great custom shirt is the blank itself. Not all blanks are created equal, and the right choice depends on your printing method and intended use.
Fabric and Fit
Cotton is the most popular choice for its softness and printability. Ringspun cotton offers a smoother surface, which is ideal for detailed designs. For athletic or outdoor shirts, consider polyester or cotton-poly blends that wick moisture. Fit matters too: unisex, fitted, and youth sizes each serve different audiences.
Weight and Color
Fabric weight is measured in ounces per square yard. A 4.5 oz shirt is lightweight and great for summer, while a 6.1 oz shirt feels more substantial and durable. Color choice affects ink opacity: printing white on dark shirts requires a white underbase, while light shirts allow for softer prints.
Trusted Sources for Blanks
Look for reputable suppliers that offer consistent quality. Many printers rely on brands known for their softness and durability. Always order a sample to test before committing to a large batch.
Designing Your Custom Shirts
Your design is the heart of the project. You don't need to be a professional artist, but a little planning goes a long way.
Start with a Concept
Ask yourself: What message do I want to convey? Who is the audience? A minimalist logo works for corporate wear, while bold graphics suit events. Sketch your idea on paper first, then digitize it using free tools like Canva or Inkscape.
Color and Contrast
Ensure your design stands out against the shirt color. High contrast is key. If you're printing on a dark shirt, use light inks, and vice versa. Also, consider the number of colors: each additional color increases complexity and cost.
Size and Placement
Standard print areas include full front, left chest, and back. Left chest prints are typically 3-4 inches wide, while full front prints can be up to 12 inches. Keep important elements within the printable area to avoid cropping.
Printing Methods Compared
There are several ways to transfer your design onto a shirt. Each has pros and cons, so choose based on your budget, quantity, and design complexity.
- Screen Printing: Best for large orders and bold designs. It's cost-effective per unit but requires setup. Great for events and merchandise.
- Direct-to-Garment (DTG): Ideal for detailed, full-color designs and small batches. No setup costs, but the print may fade over time.
- Heat Transfer Vinyl (HTV): Perfect for simple text and logos. You can cut vinyl with a craft machine and press it on. Durable and easy for beginners.
- DTF (Direct-to-Film): A newer method that offers vibrant colors and works on various fabrics. Requires a printer and heat press.
Step-by-Step: Making Your First Custom Shirt
Let's walk through a basic HTV project, which is beginner-friendly and requires minimal equipment.
- Gather supplies: Blank shirt, heat transfer vinyl, cutting machine, weeding tools, heat press or iron, and parchment paper.
- Create your design: Use software to create a mirror-image version of your text or graphic.
- Cut and weed: Cut the vinyl, then remove excess material around your design.
- Preheat the shirt: This removes moisture and wrinkles.
- Apply the vinyl: Place the design on the shirt, cover with parchment, and press according to vinyl instructions.
- Peel and cure: Remove the carrier sheet (hot or cold peel) and press again for durability.
Common Mistakes to Avoid
Even experienced crafters make mistakes. Here are a few pitfalls to watch for:
- Using the wrong side of the vinyl.
- Not preheating the fabric.
- Applying uneven pressure.
- Peeling too soon or too late.
- Ignoring wash care instructions.
Always test on a scrap piece of fabric before pressing your final shirt.
Caring for Your Custom Shirts
To keep your prints looking fresh, turn the shirt inside out before washing. Use cold water and mild detergent. Avoid fabric softener, which can break down adhesives. Tumble dry low or hang dry. Iron inside out, never directly on the print.
Frequently Asked Questions
What is the best printer for custom shirts at home?
For home use, a DTG printer or a sublimation printer is ideal, but they require a significant investment. For beginners, a heat press and HTV or DTF transfers are more affordable and versatile.
How much does it cost to make a custom shirt?
The cost varies widely. A blank shirt might cost $3-$10, while printing supplies add $2-$15 depending on the method. Screen printing is cheapest for bulk orders, while DTG is best for one-offs.
Can I print white ink on dark shirts?
Yes, but it requires a white underbase in screen printing or a specialized DTG printer with white ink capability. HTV and DTF also offer white options.
How long do custom shirt prints last?
With proper care, prints can last for years. Screen printing and DTF are the most durable, while DTG may fade after 20-30 washes.
Where can I buy quality blank shirts for printing?
Look for reputable blank suppliers that cater to printers. Smart Blanks USA offers a range of high-quality blanks suitable for all printing methods.