
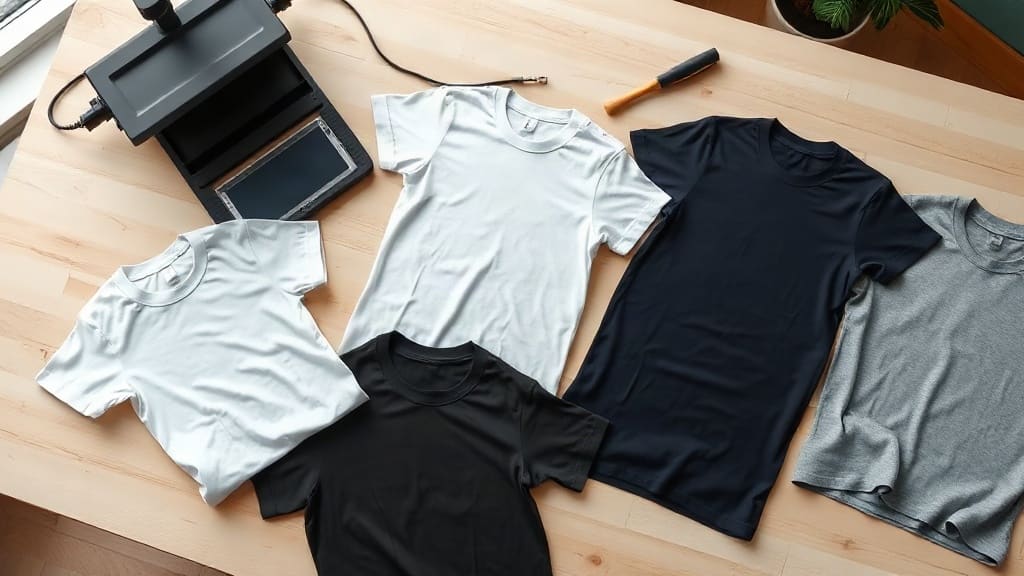
Creating custom t-shirts is more than a hobby; it's a way to express identity, build community, and even launch a business. Whether you're making a shirt for a family reunion, a sports team, or your own clothing line, the process can feel overwhelming if you're new to it. But with the right knowledge, you can go from idea to finished product without wasting money on trial and error. This guide walks you through the essentials: picking the right blank, choosing a printing method, and designing a shirt people will actually want to wear.
Why Custom T-Shirts Are Worth the Effort
There's a special kind of satisfaction in wearing something you designed yourself. But beyond personal fulfillment, custom tees serve practical purposes. Small businesses use them for branding, nonprofits for awareness, and event organizers for souvenirs. The key is to approach the project with a clear plan. Without one, you risk ending up with shirts that fade, crack, or simply don't fit well. The good news is that the industry has matured; today, even beginners can achieve professional-looking results with the right supplies and a bit of patience.
Choosing the Right Blank T-Shirt
The foundation of any great custom tee is the blank itself. Not all blanks are created equal, and the wrong choice can undermine even the best design. Consider these factors:
- Fabric content: 100% cotton is soft and breathable, but it can shrink. Cotton-poly blends resist shrinking and hold color well, making them a favorite for printing.
- Weight: Measured in ounces per square yard, heavier fabrics (5.5 oz and up) feel more durable and premium, while lighter ones (4.2 oz) are cooler for summer.
- Fit: From classic unisex to fitted women's cuts and youth sizes, the fit affects how the design looks on the body.
- Color: Light colors require different printing techniques than dark ones, so decide early.
For those just starting, a mid-weight 100% cotton tee is a safe bet. It takes screen printing and heat transfer well, and it's comfortable enough for everyday wear. If you're aiming for a softer, retail-ready feel, look for combed ring-spun cotton. These blanks cost a bit more but give your shirts a luxurious hand feel that customers notice.
Where to Source Blanks
You can buy blanks from local craft stores, online wholesalers, or directly from manufacturers. When ordering, always request a sample first. Check the stitching, the shoulder taping, and how the shirt holds up after a wash. A blank that twists or pills after one cycle will disappoint your customers, no matter how good the print looks. Also, consider inventory: if you plan to sell shirts, consistency matters. Stick with one brand and style so your sizing and color remain reliable.
Printing Methods for Custom T-Shirts
Once you have your blanks, it's time to put your design on them. The method you choose depends on your budget, quantity, and the complexity of your artwork. Here are the most common options:
Screen Printing
Screen printing is the industry standard for bulk orders. It involves pushing ink through a mesh screen onto the fabric. Each color requires a separate screen, so setup costs can be high, but the per-shirt cost drops significantly at larger quantities. It's durable, vibrant, and works on almost any fabric. If you're ordering 50 shirts or more with a simple design, screen printing is usually the most economical choice.
Direct-to-Garment (DTG) Printing
DTG printing works like a specialized inkjet printer for textiles. It's ideal for full-color, detailed designs and small batches because there are no setup fees. The ink sits on top of the fabric, so it may fade faster than screen printing, especially on dark shirts. However, for one-off shirts or photographic images, DTG offers unmatched flexibility.
Heat Transfer and Vinyl
Heat transfer involves printing your design onto a special paper and then pressing it onto the shirt with a heat press. It's great for small runs and personalization (like names and numbers). Vinyl cutting is similar but uses colored vinyl sheets. Both methods are accessible for home crafters, but they may not hold up as long as screen printing under heavy washing.
Embroidery
For a premium, professional look, embroidery adds texture and longevity. It's commonly used for polos and hats, but it can work on t-shirts too. Keep in mind that intricate details may be lost, so simpler logos work best. Embroidery costs more per shirt, but it rarely cracks or peels.
Designing Your Custom T-Shirts
A great design is more than a cool graphic; it's about wearability. Think about where the design will sit on the shirt and how it will look when worn. Avoid placing important elements too low or too close to the sides. Use high-resolution images (300 DPI or vector files) to ensure crisp printing. If you're not a designer, tools like Canva or Adobe Express offer templates that make it easy to create something clean and professional.
Color psychology also plays a role. Contrast is key: a dark design on a light shirt pops, while light ink on dark fabric can look muted unless you use a white underbase. Always print a mockup or request a digital proof before committing to a full run. And don't forget to consider the shirt color itself; it sets the mood for your entire design.
Step-by-Step: Creating Your First Custom T-Shirts
- Define your purpose: Is this for an event, a business, or personal use? This will guide your budget and quantity.
- Choose your blank: Order samples from a reputable supplier like Smart Blanks USA to test quality.
- Create your design: Use vector software or a high-res raster image. Keep it simple and bold.
- Select a printing method: Based on quantity, colors, and budget.
- Order a proof: Never skip this step. Check colors, placement, and sizing.
- Approve and produce: Once satisfied, proceed with the full order.
- Wash and wear: Follow care instructions to keep your shirts looking new.
Common Mistakes to Avoid
Even seasoned creators make mistakes. Here are a few pitfalls that can ruin your project:
- Using low-resolution images: They will look pixelated and unprofessional.
- Ignoring fabric choice: Some inks don't adhere well to certain synthetics.
- Placing designs too high or low: The standard placement is 2-3 inches from the collar for left chest, and 3-4 inches from the collar for full front.
- Skipping a sample: Always test before a large order.
- Forgetting about care: Provide washing instructions to extend the life of your shirts.
Frequently Asked Questions About Custom T-Shirts
What is the best fabric for custom t-shirts?
100% cotton is the most popular for its comfort and printability. However, cotton-poly blends offer durability and resistance to shrinking, making them great for athletic or everyday wear. The best choice depends on your intended use and budget.
How much does it cost to make custom t-shirts?
Costs vary widely based on the blank, printing method, and quantity. A basic screen-printed shirt might cost $8-$15 each in bulk, while a single DTG shirt could be $20-$30. Always request quotes from multiple suppliers.
Can I print on dark-colored shirts?
Yes, but you'll need a white underbase for screen printing or use DTG printers with white ink capabilities. Without it, colors may appear dull or invisible. Always test on a sample first.
How do I wash custom t-shirts to make them last?
Turn the shirt inside out, wash in cold water on a gentle cycle, and tumble dry on low or hang dry. Avoid ironing directly on the print. Following these steps can significantly extend the life of your custom shirts.
What file format should I use for my design?
Vector files (AI, EPS, PDF) are ideal because they can be scaled without losing quality. If you only have a raster image, ensure it's at least 300 DPI at the final print size. High-resolution PNGs with transparent backgrounds also work for DTG.